Before & After: Purple & Gold Office

I am so excited to share the before & after photos of a recent project I worked on! This was a really fun and rewarding project as it was for a busy working mom who wanted to makeover her home office but didn’t have the time to do it on her own. The office is the first room you see when you walk into the house, so I wanted to make sure it made a statement and caught people’s eye.

Come tour the transformation!
 

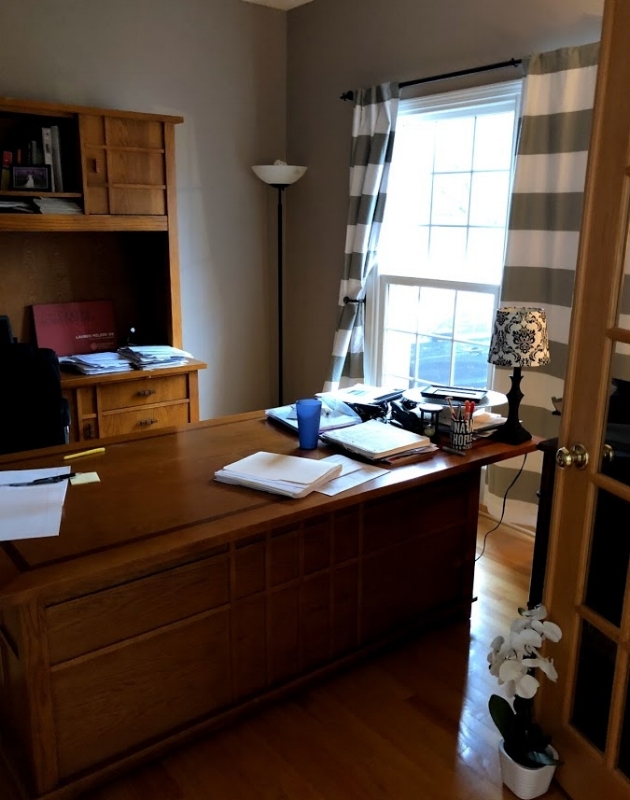
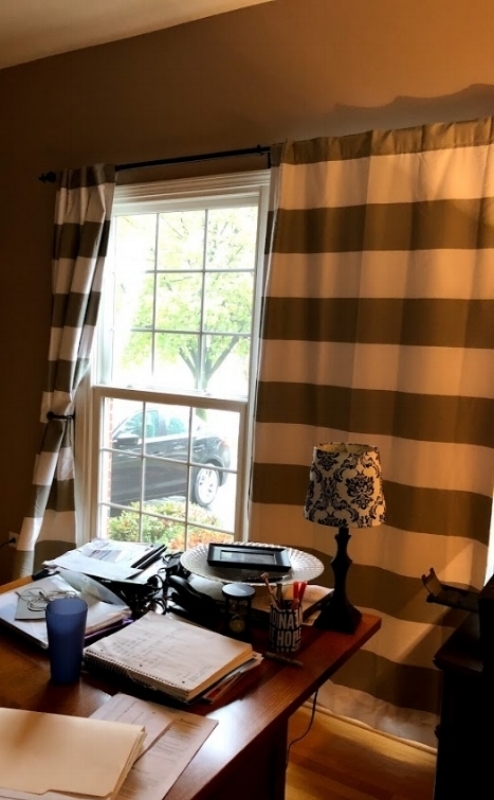
Below is a "before" picture of the office. The room was dark and didn't provide a motivating work space. We wanted to brighten up the room and create a more functional space!

1.5.jpg

After:

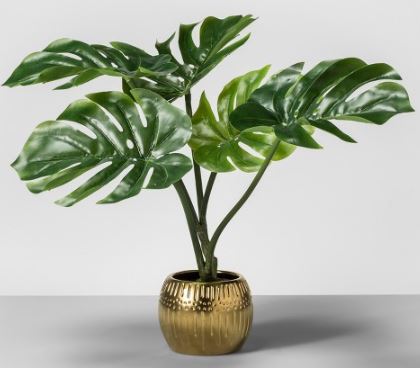
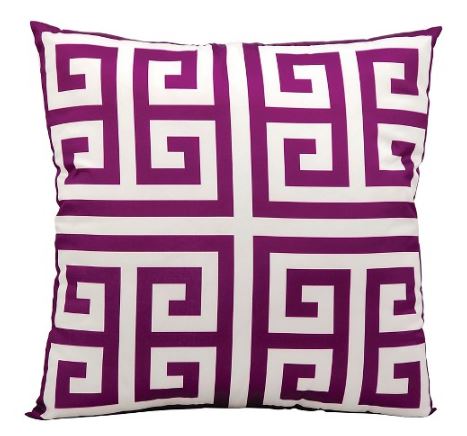
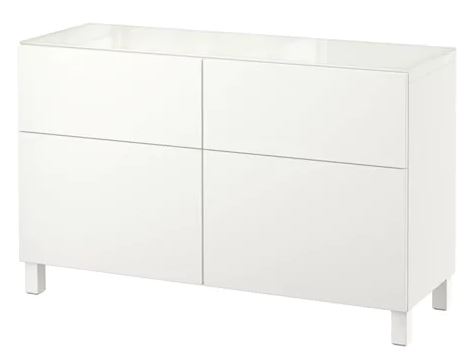
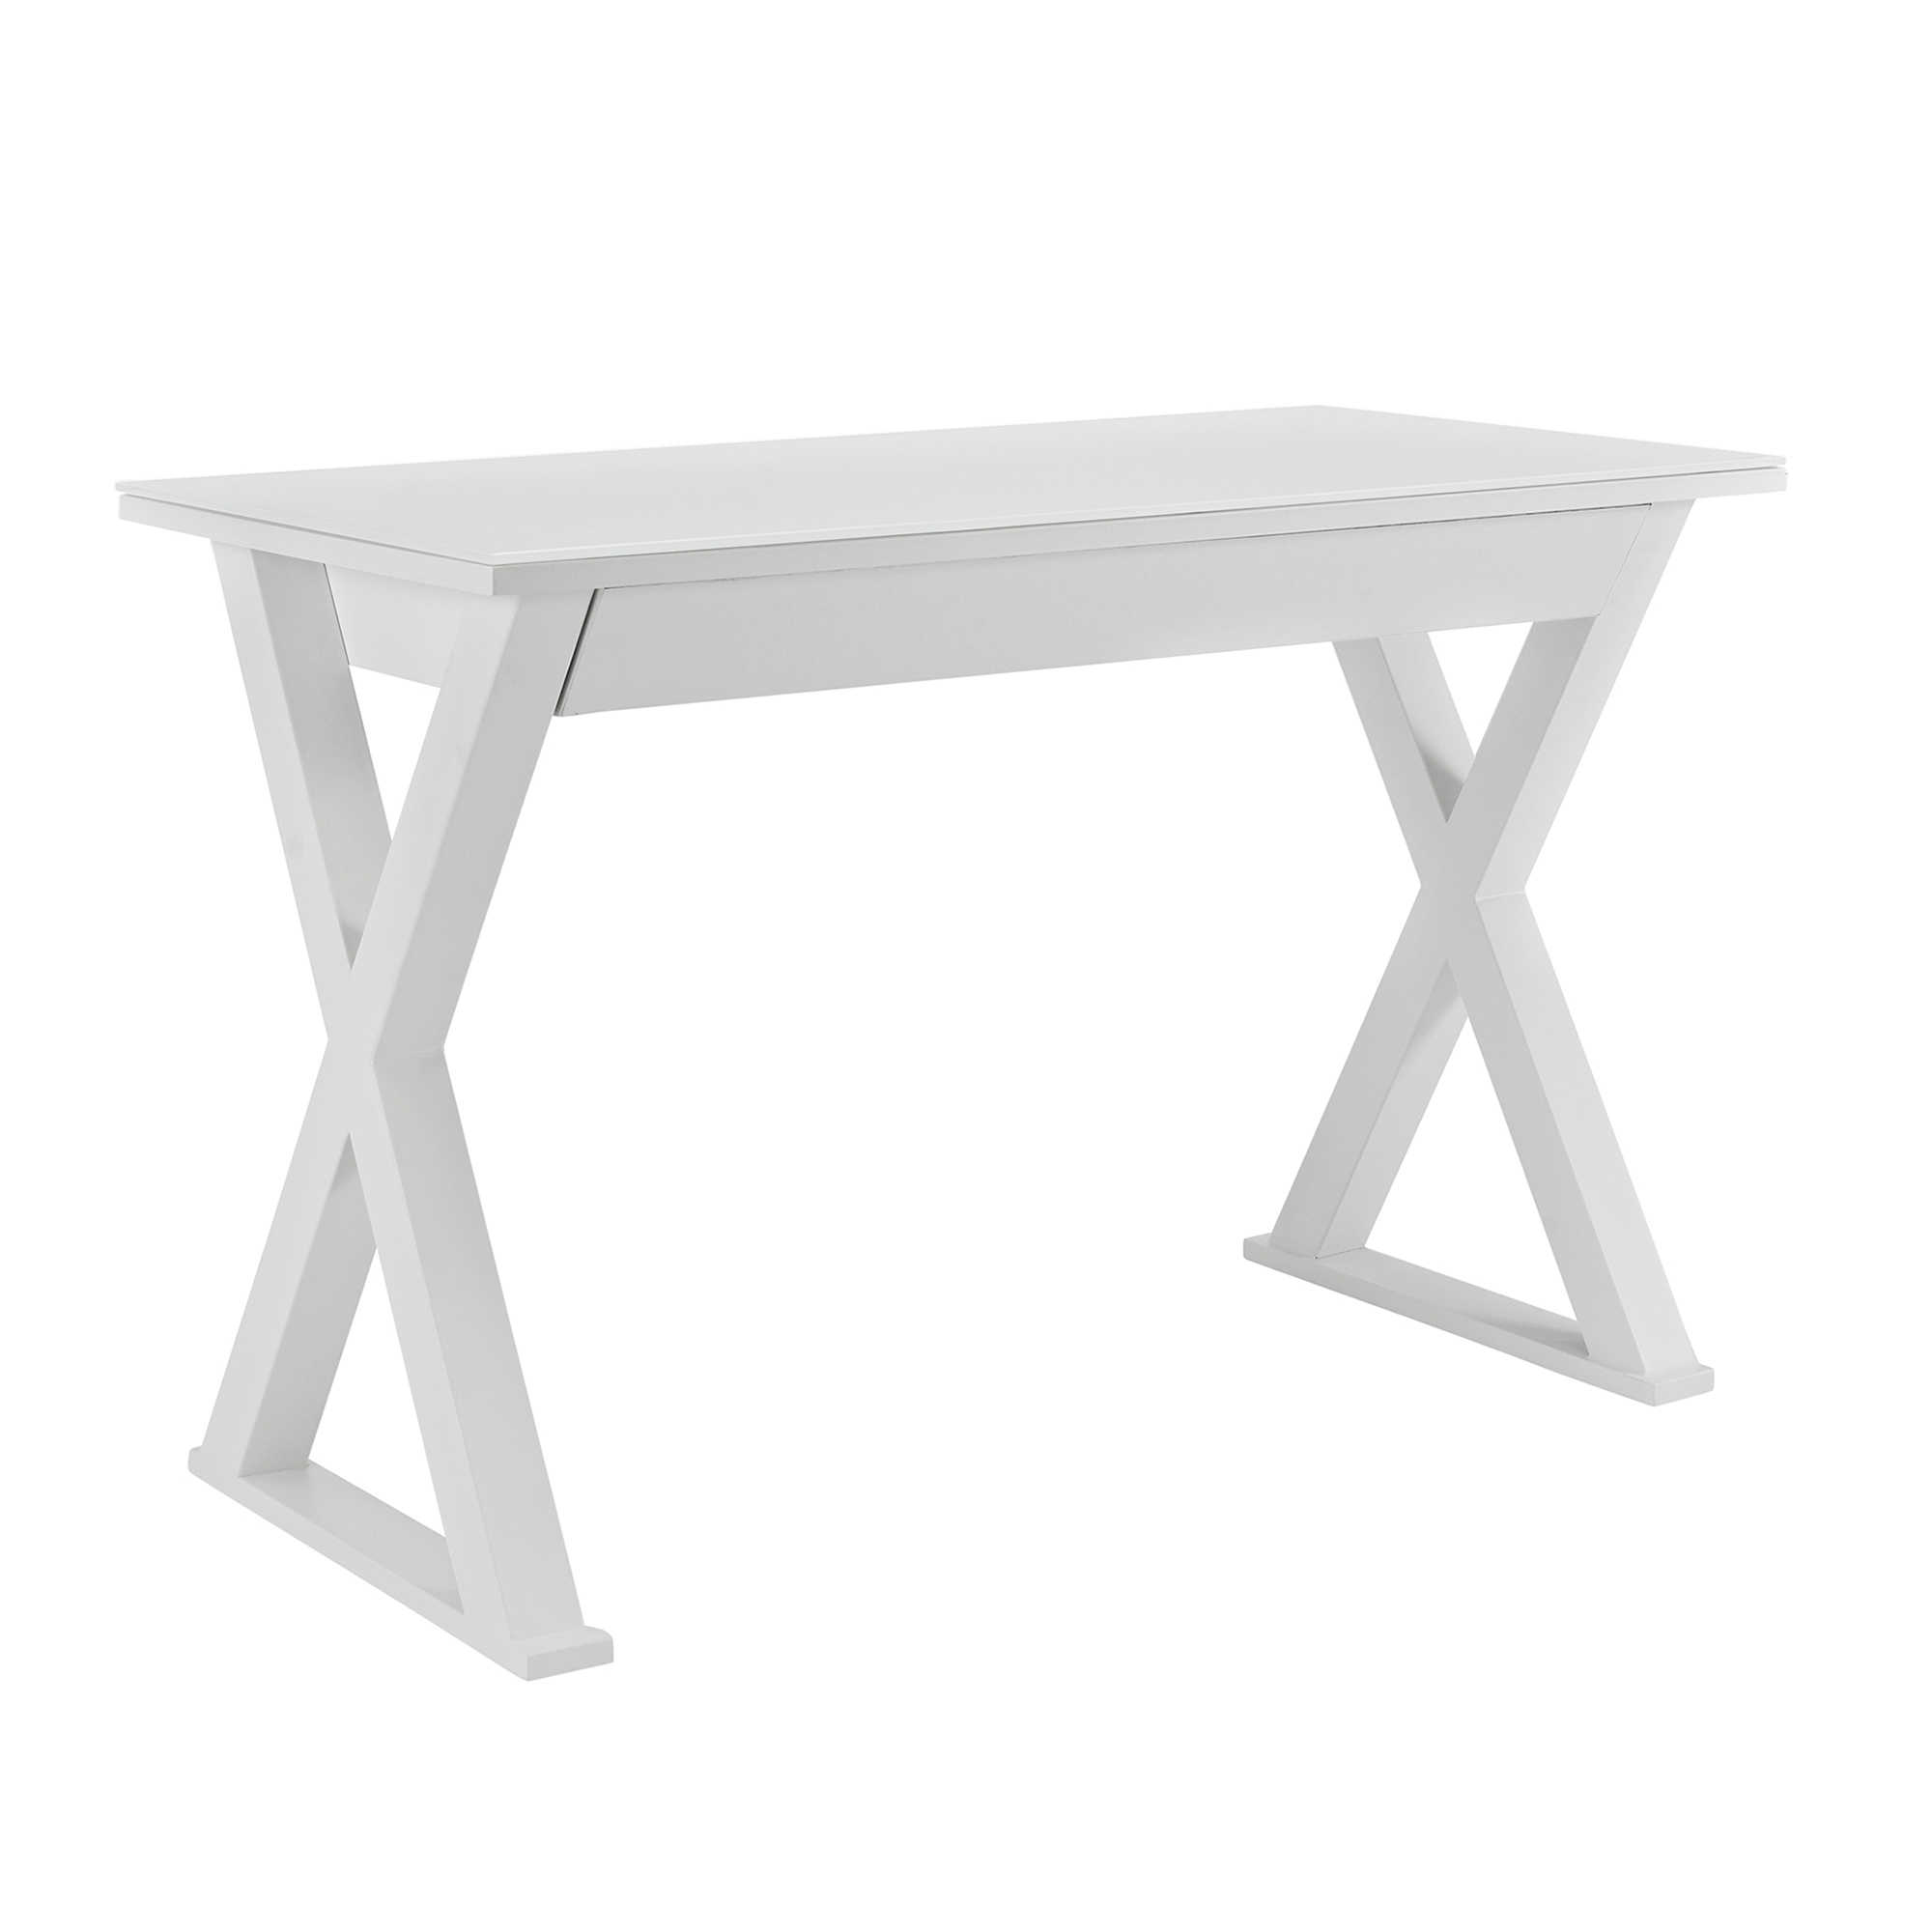
Now, the room is so much brighter! We replaced the old furniture with a new desk & chair, new rug, a storage credenza and shelving - the room looks completely different! We brought in some beautiful gold & purple accents, as well as a few plants to give the room life!

1.jpg

Before:

2.5.jpg

After:

We brightened up the space by replacing the old curtains with white sheers, and took them all the way up to the ceiling to make the room appear larger. (Click here to learn how to make rooms appear larger!)

18.jpg

Before:

3.5.jpg

After:

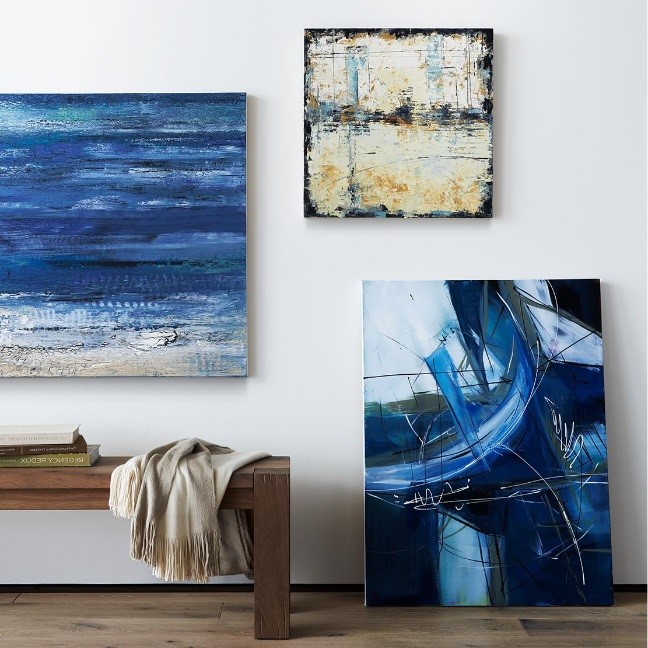
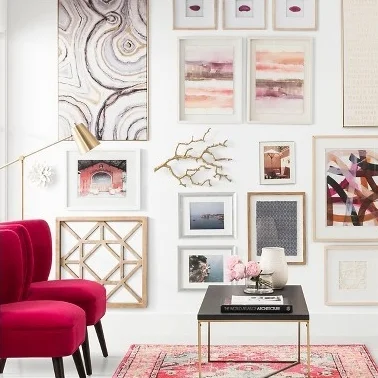
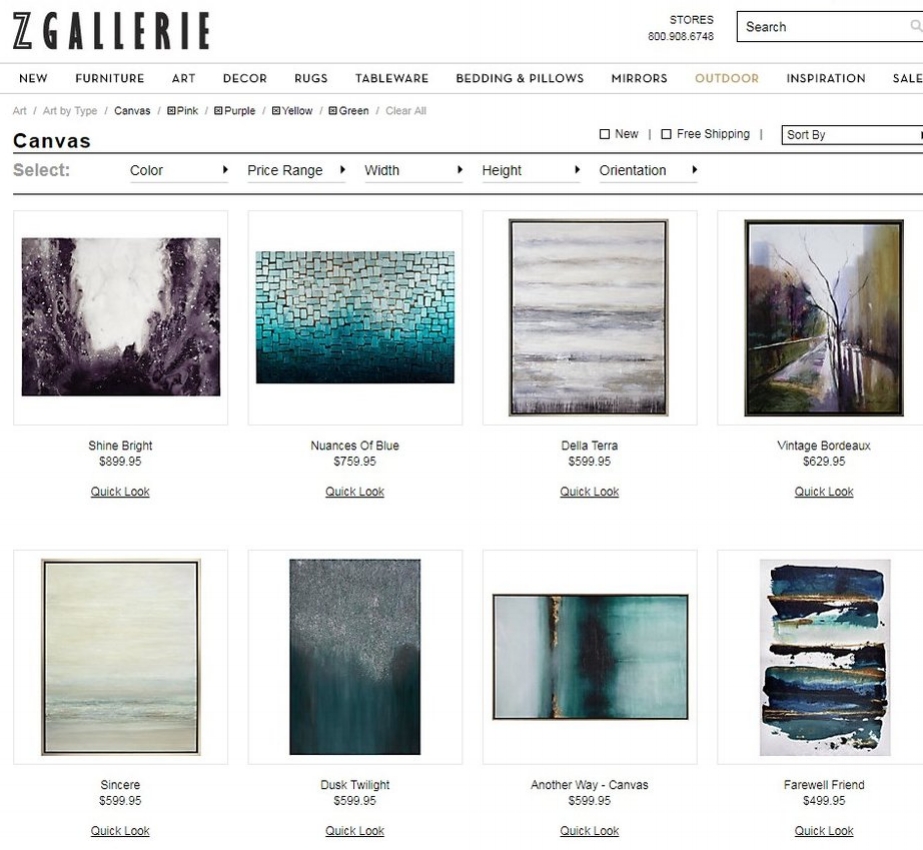
We added a fun gallery wall, incorporating gold and purple elements to tie in with the shelving accents and large canvas art.

15.PNG

Before:

4.jpg

After:

17.jpg

My client and I were thrilled with the outcome of the office transformation! Click here to see the full gallery of this project.
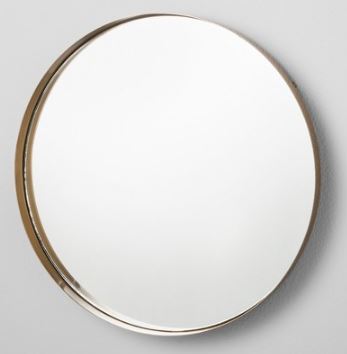
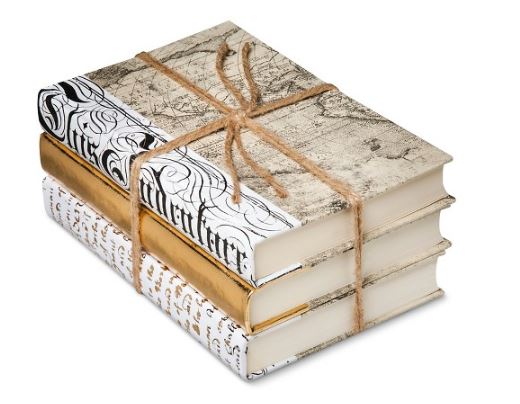
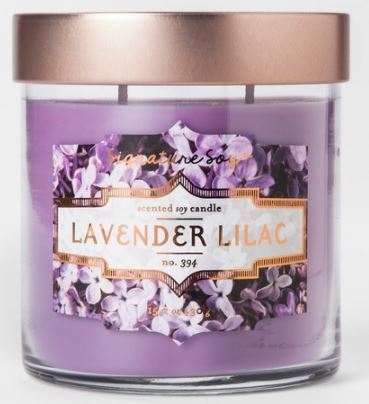
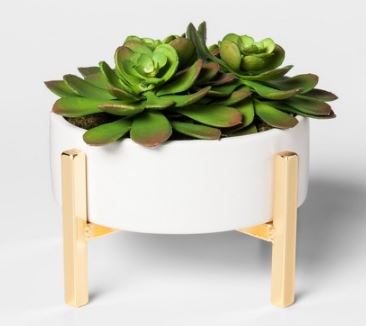
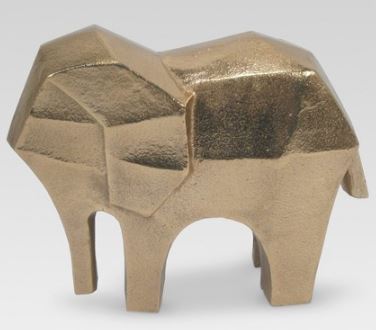
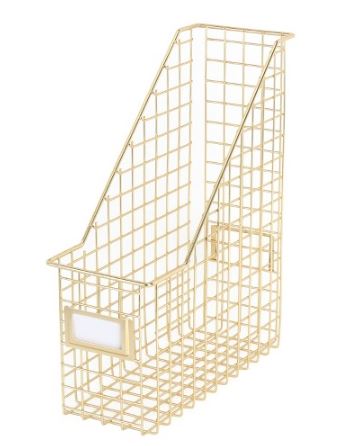
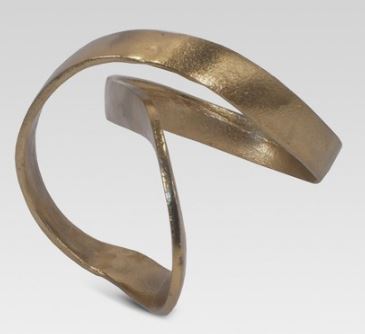
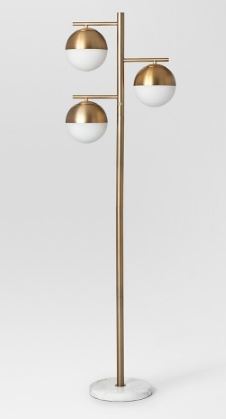
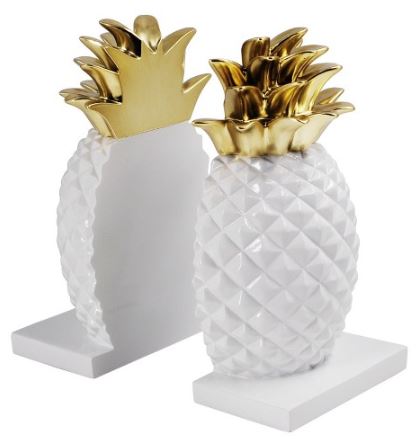
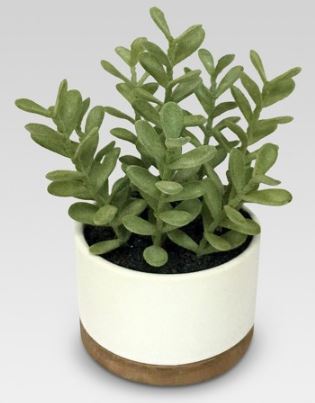
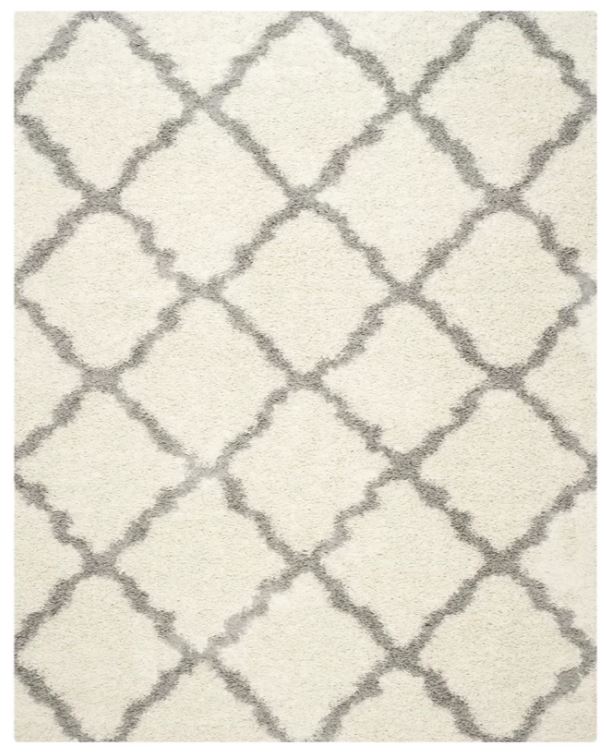
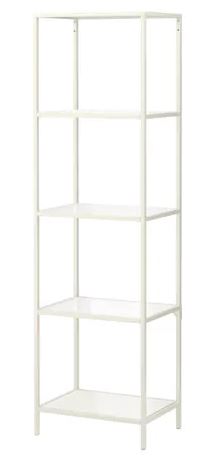
 

Shop the Look:

How to Start a Room Redesign

So you’ve made the decision to give your room a fresh look - this is exciting! But where should you start? Getting started can be an overwhelming process, but the below steps will give you the basics you need to start tackling your project.

Step 1: Assess the area and answer a few questions:

  • What is this room used for?

  • How do you want this room to feel?

  • What do you love about this space, and what do you want to change?

  • Which items in the room do you want to incorporate into the redesign?

Decide what new items you want for the redesign:

  • Furniture

  • Artwork

  • Rugs

  • Window Treatments

  • Pillows & Accessories

  • Lighting

  • Paint


Photo Credit: Target/C&B/Target/Target/ZGallerie/West Elm

Once you’ve answered the questions above and determined what you want to include in your redesign, the fun part starts!

Step 2: Find Inspiration

You may have some ideas for your redesign, or you may have no idea what sort of look & feel you want. Either way, looking for inspiration can spark some fun, creative ideas that you would have never thought of! I love using Pinterest to find inspiration and save ideas that I love. You can start with a broad search such as “modern office design” or “traditional living room.” Once you have a better idea of your style, you can search for specific keywords such as “white lacquer desk” or “blue chevron rug.” When you find ideas that you love, save them to a specific Pinterest board for your room. Once you have several images saved, go through your board and remove any pins that don’t work with your overall theme. This will help you narrow in on a specific style and look for your redesign.

*Helpful Tip: Check out the Whittaker Interiors Pinterest page for inspiration for different decorating styles at: pinterest.com/whittakerinteriors

Step 3: Start Shopping

Now that you have an idea of what you want to include in your redesign, and know what sort of style you are going for, you can start shopping! I find it easiest to shop both online & in-stores depending on what you are shopping for. For larger pieces such as headboards, coffee tables or desks, purchasing online and having the item shipped to you is usually much easier than purchasing in-store and then finding a way to get it home. For smaller accents such as pillows, lamps or decorative items, I like to purchase these items in-store so I can see what they look like in person. Plus they’re much easier to transport back home with you!